
How to Create Classic White French Tips with Balanced Proportions
The classic white French manicure has endured for decades because it mirrors and refines the natural anatomy of a healthy nail. The secret to making classic French tips look modern rather than dated lies in two details: selecting a translucent neutral base that harmonizes with your natural skin undertone and tailoring the depth of the smile line to match your nail shape.
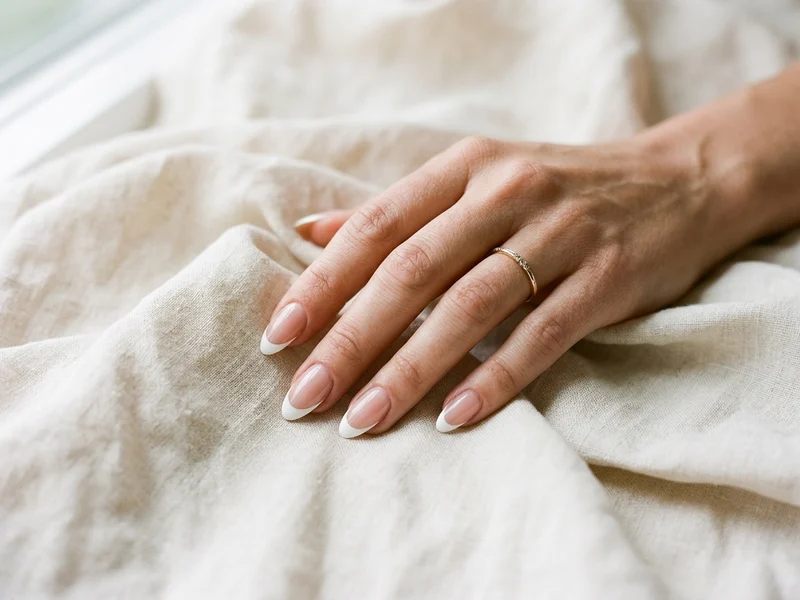
Overview of the Nail Design
On square and squoval nails, a gentler horizontal smile line feels crisp and structured. On almond and oval nails, pulling the corners of the smile line slightly higher along the sidewalls creates an elegant U-shaped arch that elongates the hand.
Generic Tools and Materials Needed
You only need standard, generic manicure tools to practice this technique cleanly:
- 180-grit file and 240-grit soft buffer
- Wooden cuticle stick, lint-free wipes, and isopropyl alcohol
- Base coat and glossy top coat
- Sheer rosy-pink or soft neutral beige base polish or gel
- Opaque bright white or soft milky-white polish or gel
- 11mm fine striping brush and flat oval clean-up brush
- Botanical cuticle oil
Nail Preparation
- File all nails into a cohesive silhouette—classic French lines draw the eye straight to the free edge, so matching tip curvature across all fingers makes a dramatic difference.
- Gently push back the proximal nail fold and clear away dry cuticle residue from the nail plate.
- Cleanse thoroughly with alcohol on a lint-free pad and allow the nail plate to dry completely.
Step-by-Step Instructions
-
Step 1
Lay Down a Smooth Base Coat
Apply a thin, even layer of base coat across every nail, capping the free edge lightly and keeping product off the surrounding skin. Cure if using gel, or let lacquer set for 2 minutes.
-
Step 2
Select and Apply Your Sheer Base Shade
Cool and fair-to-medium skin tones look luminous in translucent rose-pink, while warm, olive, and deep skin tones glow in sheer peach-beige or soft warm neutral. Apply two thin, self-leveling coats so the natural nail bed looks softly blurred without turning chalky.
-
Step 3
Mark the Smile-Line Height Consistently
Decide where your smile line will sit—typically covering the top 20% to 25% of the visible nail length. Using your 11mm striping brush, place a tiny horizontal tick mark at the center height and two symmetrical anchor ticks slightly higher on each sidewall.
-
Step 4
Outline the Smile Curve
Draw a smooth diagonal curve from the left sidewall tick down to the center tick, then mirror from the right sidewall to the center. Check the symmetry straight on before filling anything in—adjusting a thin outline is effortless compared to fixing a filled tip.
-
Step 5
Fill the Free Edge in Two Thin Passes
Fill from the outline down to the free edge using thin, even strokes. Thick white layers wrinkle under UV/LED lamps or bubble when air-drying, so two thin opaque passes always beat one heavy coat.
-
Step 6
Crisp the Inner Curve and Seal
Use a lightly dampened oval clean-up brush to sweep smoothly along the inner arc if needed. Once fully cured or dry, apply a self-leveling glossy top coat over the entire nail to erase any tiny ledge between the pink base and white tip.
Beginner-Friendly Tips
- If bright stark white feels too high-contrast, try a soft ivory or milky white for a quieter editorial look.
- Hold your hand at arm's length before curing your white outline—small asymmetries are easier to spot from normal viewing distance.
Common Mistakes to Avoid
- Making the white tip thicker than one-third of the nail length, which visually shortens the fingers.
- Applying one thick coat of white gel that under-cures underneath and ripples.
- Skipping the sidewall taper on almond nails, leaving a flat bar across a pointed tip.
Troubleshooting & Professional Finishing
- Visible ridge where white meets pink: Apply a second thin coat of clear glossy top coat or gently buff the cured top surface with a 240-grit buffer before resealing.
- Yellowing white tips after a few days: Always seal with a UV-protective glossy top coat and avoid exposing fresh nails to self-tanner or strong hair dyes.
Finishing Technique
A clean, mirror-smooth glossy top coat is the hallmark of a classic French manicure. Wipe any tacky inhibition layer (if your gel top coat requires it) with a fresh lint-free pad soaked in alcohol, then nourish cuticles with oil.
Alternative Design Variations
- Soft Baby-Boomer Ombre French: Tap a makeup sponge along the uncured white boundary to diffuse the smile line into a cloud-like fade.
- Pearl-Glazed Classic French: Burnish sheer aurora pearl powder over the finished classic French for a luminous bridal sheen.
- Deep V-Shaped French: Angle the sidewall strokes sharply downward into a sleek central chevron point.
Safety, Removal & Aftercare
Keep all uncured gel products strictly away from skin and cure each thin white layer fully so pigment hardens all the way through. Remove lacquer gently with saturated cotton pads, or soak off gel polish patiently with foil wraps after breaking the glossy seal—never peel.
Nail Care & Aftercare
Reapply a thin coat of clear top coat on day four (for regular polish) to refresh gloss and protect the white free edge from hairline tip wear.
Frequently Asked Questions
How do I keep both hands symmetrical?
Measure your smile-line height visually against the natural free edge or mark the center height dot on all five fingers of a hand before drawing curves so the proportions stay uniform.
Is stark white or soft milky white better for classic French tips?
Stark bright white delivers high-contrast crispness, while soft ivory or milky white feels softer and more natural—both are classic choices depending on your undertone and preference.
Related Tutorials
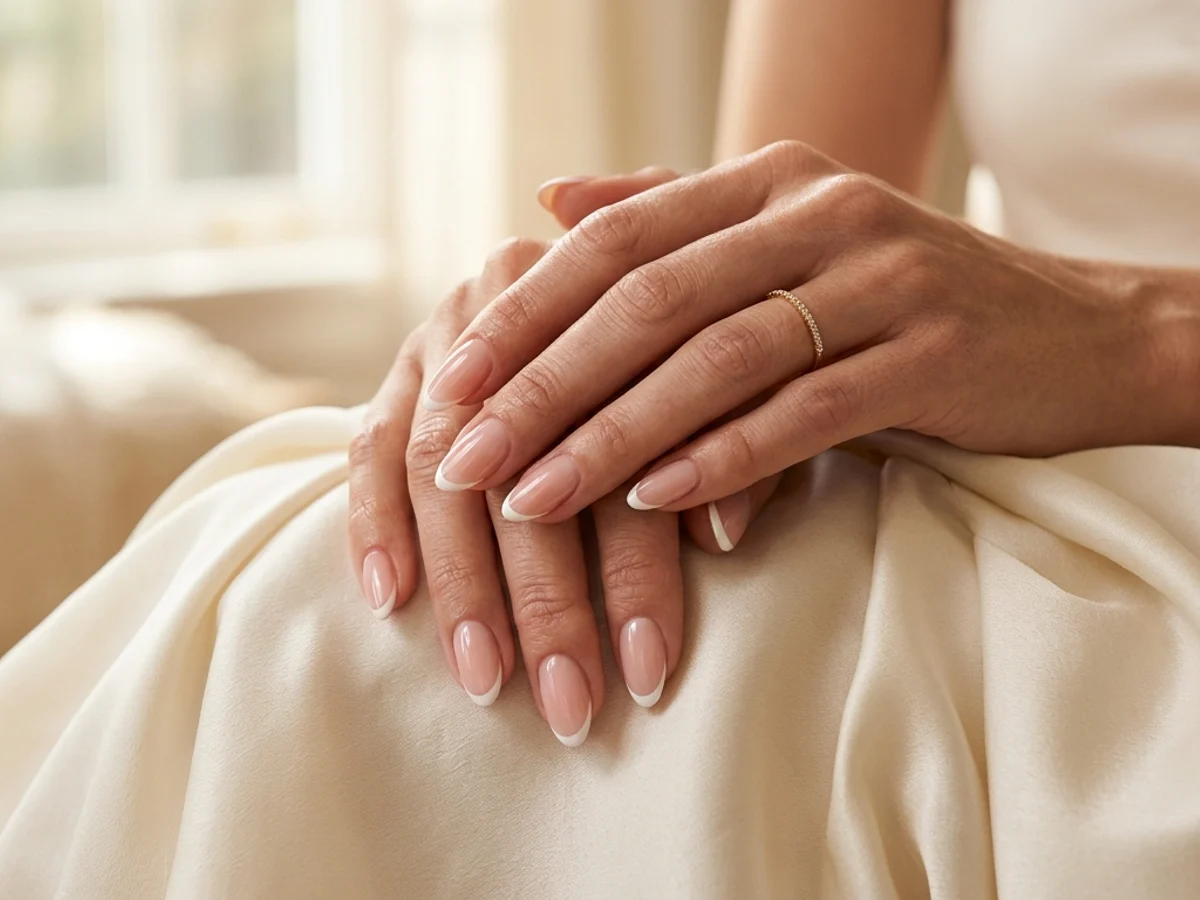
How to Create Micro French Tips: Crisp Hairline Smile Lines at Home
Master razor-thin 1mm French smile lines using a fine liner brush, sheer blush base balancing, and clean-up refinement for an effortlessly elongated manicure.

Timeless Bridal Pearlescent Manicure: Ring-Ready Prep and Sheer Glow
Design a luminous, snag-free bridal manicure that photographs effortlessly in macro ring shots—complete with skin-undertone matching and a 3-week prep timeline.
How to Do Glazed Donut Nails at Home: Luminous Pearl Chrome Technique
Unlock the mirror-smooth pearlescent sheen of glazed donut nails with precise flash-cure timing, dust-free prep, and chip-proof chrome edge sealing.