
How to Create Micro French Tips: Crisp Hairline Smile Lines at Home
Micro French tips distill the classic French manicure down to a whisper-thin hairline along the very edge of the nail. Because the painted band stays roughly 0.5mm to 1.5mm wide, it visually lengthens short and medium nails without overwhelming the nail plate. Achieving crisp, symmetrical micro lines has far less to do with artistic talent and far more to do with hand stabilization, brush loading, and clean base preparation.
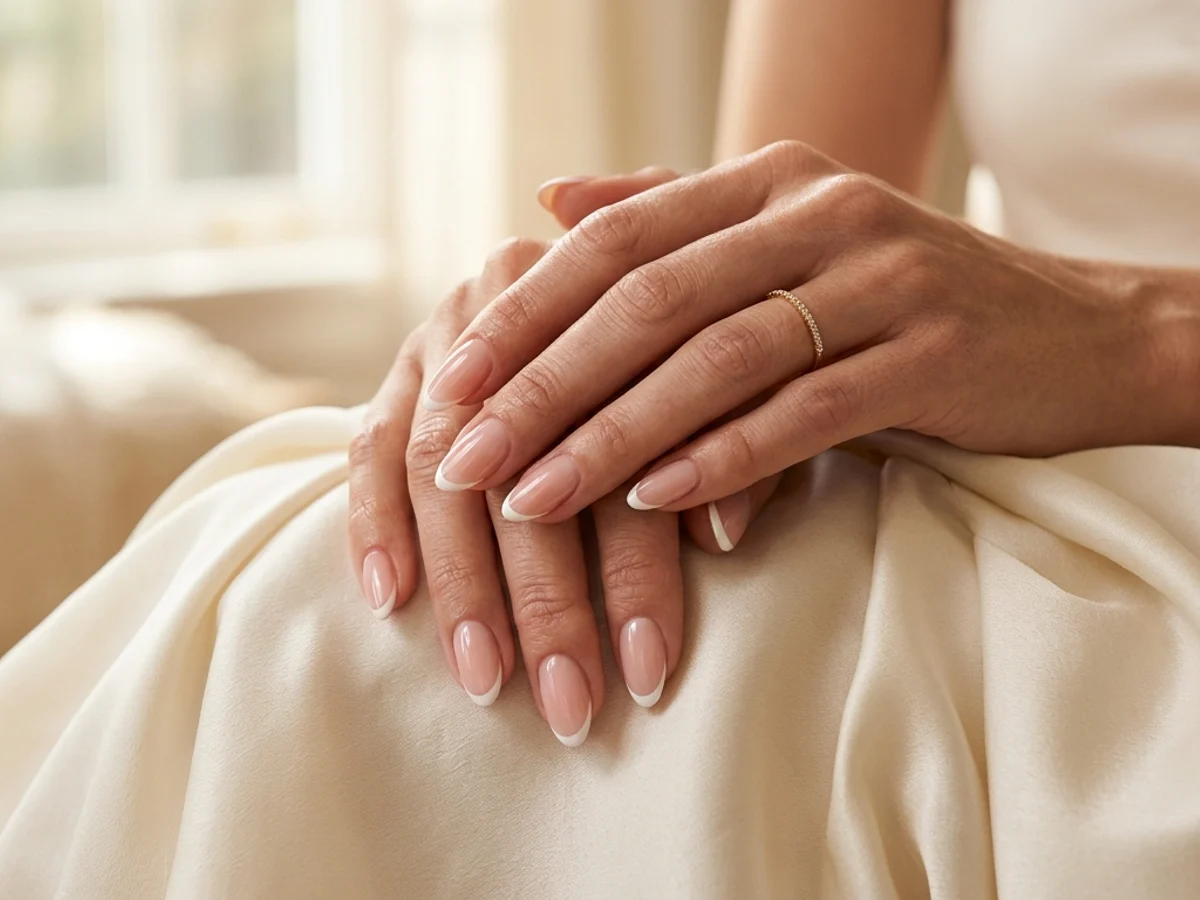
Overview of the Nail Design
Unlike traditional French tips that cover the entire white free edge, a micro French sits strictly along the outermost rim of the nail. It pairs best with a translucent rosy-pink, sheer milky beige, or natural ridge-smoothing base so the transition remains soft and editorial as your nails grow.
Generic Tools and Materials Needed
You only need standard, generic manicure tools to practice this technique cleanly:
- 180-grit or 240-grit nail file and a gentle fine-grit buffer
- Wooden cuticle pusher and lint-free wipes with 70%–90% isopropyl alcohol
- Base coat (regular lacquer or UV/LED gel base coat, plus matching lamp if using gel)
- Sheer blush-pink or translucent neutral base shade
- High-opacity white nail polish or pigmented white gel paint
- 7mm to 9mm fine detail liner brush and a small flat clean-up brush
- High-gloss top coat and botanical cuticle oil
Nail Preparation
- Start on completely dry nails—avoid soaking your hands in water beforehand, as absorbed moisture expands the nail plate and leads to early chipping once it dries.
- Shape all ten nails to an even length using light one-directional strokes. Micro tips highlight length differences immediately, so compare left and right hands side by side.
- Gently push back the cuticle and remove invisible non-living tissue along the nail plate with a wooden stick, then wipe thoroughly with isopropyl alcohol on a lint-free pad to remove surface oils.
Step-by-Step Instructions
-
Step 1
Apply a Thin, Even Base Coat
Coat the entire nail plate with a thin layer of base coat, leaving a hairline 0.5mm gap from the cuticle skin and sidewalls. If using UV/LED gel, cure for the full time recommended for your lamp and gel system. Avoid pooling near the free edge so the tip stays crisp and sleek.
-
Step 2
Build a Translucent Sheer Base
Apply one to two whisper-thin coats of sheer blush pink or milky neutral. Float the brush gently across the nail without pressing down hard, allowing the shade to self-level evenly. Cure each coat if using gel, or let regular polish dry for 3 to 5 minutes until tack-free before starting line work.
-
Step 3
Load Your Fine Liner Brush Evenly
Place a small drop of opaque white polish or gel paint onto a clean palette or foil square. Pull your 7mm–9mm liner brush through the drop while twisting gently so pigment coats the bristles evenly without leaving a heavy bead at the tip. A heavy bead causes blotchy starts.
-
Step 4
Anchor Your Hand and Map Three Reference Points
Rest the pinky finger of your painting hand firmly against the hand you are painting or on the table. Lightly tap three tiny guide dots along the free edge: one at the exact center tip and one at each sidewall corner where you want the micro smile line to taper.
-
Step 5
Connect the Arc in Two Controlled Pulls
Instead of trying to draw the entire smile line in one nervous stroke, pull from the left sidewall dot smoothly into the center dot, then repeat from the right sidewall into the center. Keep the brush bristles almost parallel to the nail edge so the line stays uniform at about 1mm wide.
-
Step 6
Refine the Smile Line Before Setting
Dip a clean flat brush lightly into isopropyl alcohol (for uncured gel) or a tiny amount of remover (for regular polish), blot off excess on a lint-free wipe, and gently sweep beneath the inner curve of the white line to sharpen any slight wobbles. Cure the finished white line (or allow lacquer to dry thoroughly).
-
Step 7
Seal with Glossy Top Coat and Cap the Free Edge
Float a smooth layer of glossy top coat over the entire nail, gently brushing across the very tip edge to seal the micro white pigment against everyday wear. Cure fully (or let dry completely) before massaging a drop of cuticle oil into the surrounding skin.
Beginner-Friendly Tips
- Practice drawing five hairline curves on a smooth piece of foil or plastic wrap before touching your nails so you feel how lightly the bristles should glide.
- Paint your dominant hand first while your focus and patience are highest.
- If using regular nail polish, work quickly from a fresh small drop on your palette every two nails so the polish never thickens and strings.
Common Mistakes to Avoid
- Overloading the liner brush, which dumps a thick ridge of white paint at the corner and creates a bulky edge.
- Painting too straight across the tip on almond or oval nails instead of letting the micro line follow the natural curve of the free edge.
- Allowing uncured gel to touch the fingertip skin while capping the free edge—always wipe skin clean immediately before curing.
Troubleshooting & Professional Finishing
- Wobbly inner edge: Don't erase the whole nail—use a slightly damp flat clean-up brush to carve a crisp curve underneath the line before curing.
- Sheer or patchy white tip: Use a higher-opacity gel paint or apply a second ultra-thin pass directly over the first cured line rather than one thick coat.
- Premature tip chipping: Ensure the free edge was dehydrated cleanly and capped thinly with both base coat and top coat.
Finishing Technique
Check each nail from the side profile before your final top coat. If the white tip creates a slight step, float a slightly fuller self-leveling glossy top coat over the whole nail so light reflects in one unbroken glass-like highlight.
Alternative Design Variations
- Double Micro French: Add a second ultra-thin parallel line 1.5mm below the primary tip using champagne metallic or muted rose.
- Glazed Micro French: Buff sheer white pearl chrome powder over the cured manicure before your final sealing top coat.
- Espresso or Burgundy Micro French: Swap white for deep wine or chocolate brown for an understated autumn editorial look.
Safety, Removal & Aftercare
If using UV/LED gel, keep uncured gel strictly off the skin and cuticles to reduce the risk of acrylate contact allergies, and always cure for the full recommended time in a compatible lamp. To remove regular lacquer, hold a remover-soaked cotton pad on the nail for 20 seconds and wipe downward cleanly. To remove gel polish, gently buff the shiny top coat, wrap each nail in acetone-soaked cotton and foil for 10 to 15 minutes, and lift loosened gel softly with a wooden stick—never peel or scrape dry gel.
Nail Care & Aftercare
Apply cuticle oil once or twice daily, wear gloves when washing dishes or using household cleaners, and avoid using your manicured tips as tools to open cans or peel labels.
Frequently Asked Questions
How thin should a micro French tip be on short nails?
Aim for roughly 0.5mm to 1mm on very short nails and up to 1.5mm on medium lengths. Keeping the tip hairline-thin preserves visible sheer pink nail bed, which makes short fingers look longer.
Can I create micro French tips with regular nail polish instead of gel?
Yes. Use a quick-drying sheer base, wait until it is dry to the touch, and paint your tip from a small fresh drop of opaque white polish on a palette using a fine liner brush. Finish with a fast-drying glossy top coat.
Why does my fine liner brush leave bumpy edges?
Bumpy edges usually happen when the polish has started to thicken on the palette or too much product is pooled at the tip of the bristles. Refresh your drop frequently and roll the bristles smoothly through the paint.
Related Tutorials
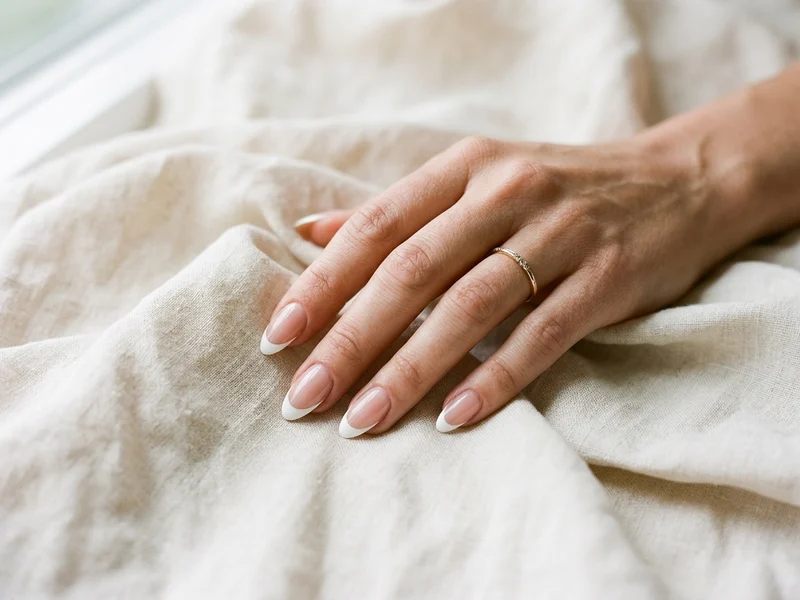
How to Create Classic White French Tips with Balanced Proportions
Learn the exact geometry behind timeless classic white French tips—from choosing a flattering sheer base to carving deep, symmetrical smile lines.
How to Get Clean Girl Soap Nails: The Glass-Gloss Natural Manicure Guide
Achieve the freshly washed, glass-glossy elegance of soap nails through gentle cuticle refinement, undertone-matched sheer coats, and mirror-shine sealing.
Short Nail Manicure Guide: Shaping, Proportions & Chip-Proof Techniques
Make short natural nails look effortlessly editorial with smart length matching, elongating sidewall margins, and thin-coat tip sealing that prevents early chipping.